From Sheep to Skein: The Journey of Hand-Dyed Yarn
Share
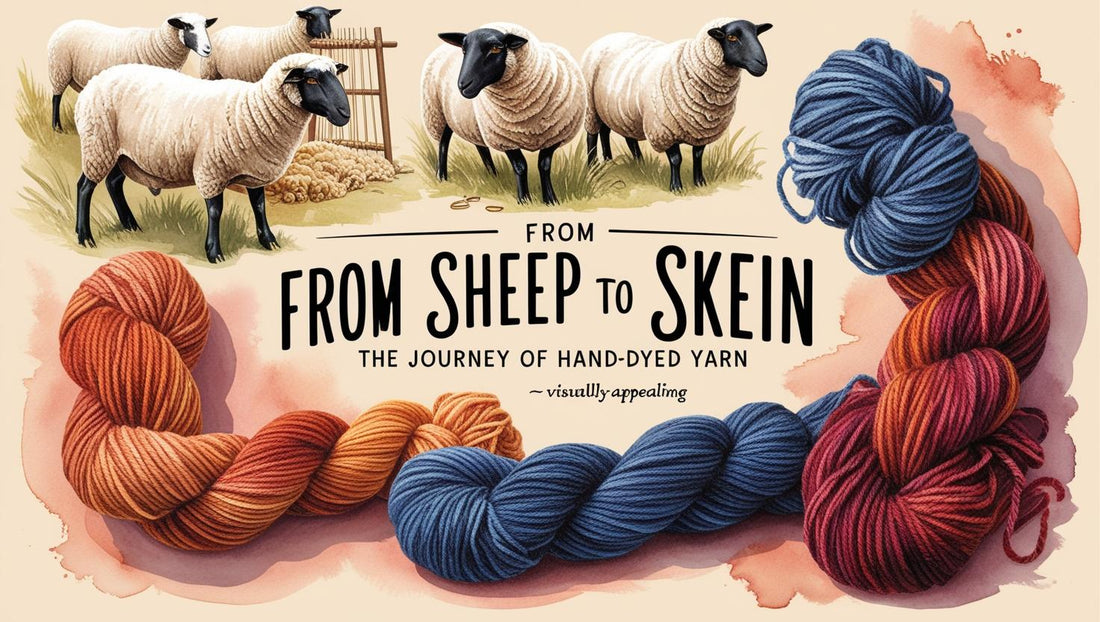
From Sheep to Skein: The Journey of Hand-Dyed Yarn
Ever wondered about the magical process that transforms raw fiber into the gorgeous hand-dyed yarn in your stash? Let's take a behind-the-scenes journey through our dyeing studio at Tina's Toasty Toes.
The Journey Begins: Selecting Premium Fibers
- Careful sourcing from trusted suppliers
- Quality testing for durability and softness
- Examining fiber characteristics
The Art of Dyeing Step 1: Preparation
- placing reusable zip ties around the yarn skein to prevent tangles during the dyeing process. The ties are color-coded to make it easier to tell which yarn base is which.
- Gentle washing
- Pre-soaking for even dye absorption
Step 2: Color Creation
- Mixing custom dye formulas
- Testing for perfect shade matches
- Developing unique colorways
Step 3: The Dyeing Process
- Applying dyes with precision
- Heat setting for colorfastness
- Cooling and resting period
Step 4: Finishing Touches
- Gentle washing
- Careful drying
- Quality control checks
- Twisting the yarn into a skein (and removing the reusable zip tie)
- Adding a belly band and a yarn descriptor label for easy identification
Explore our latest hand-dyed colorways and find your perfect skein!